The Ultimate Guide to Make Your Email Signature for Free

Your email will look more professional if you include a signature. You may market your brand and show professionalism to your clients and email receivers by using an email signature. You don’t have to start from scratch with your email signature thanks to technology.
You may generate an email signature with email signature generators. You can also use a signature template that you can customize. You can add a signature to your email in minutes using this. So, how can you quickly add a signature to your Gmail account?
This article examines two methods for quickly adding a signature to your Gmail account. Let’s get right down to business!
How to Add a Signature to Your Gmail Messages?
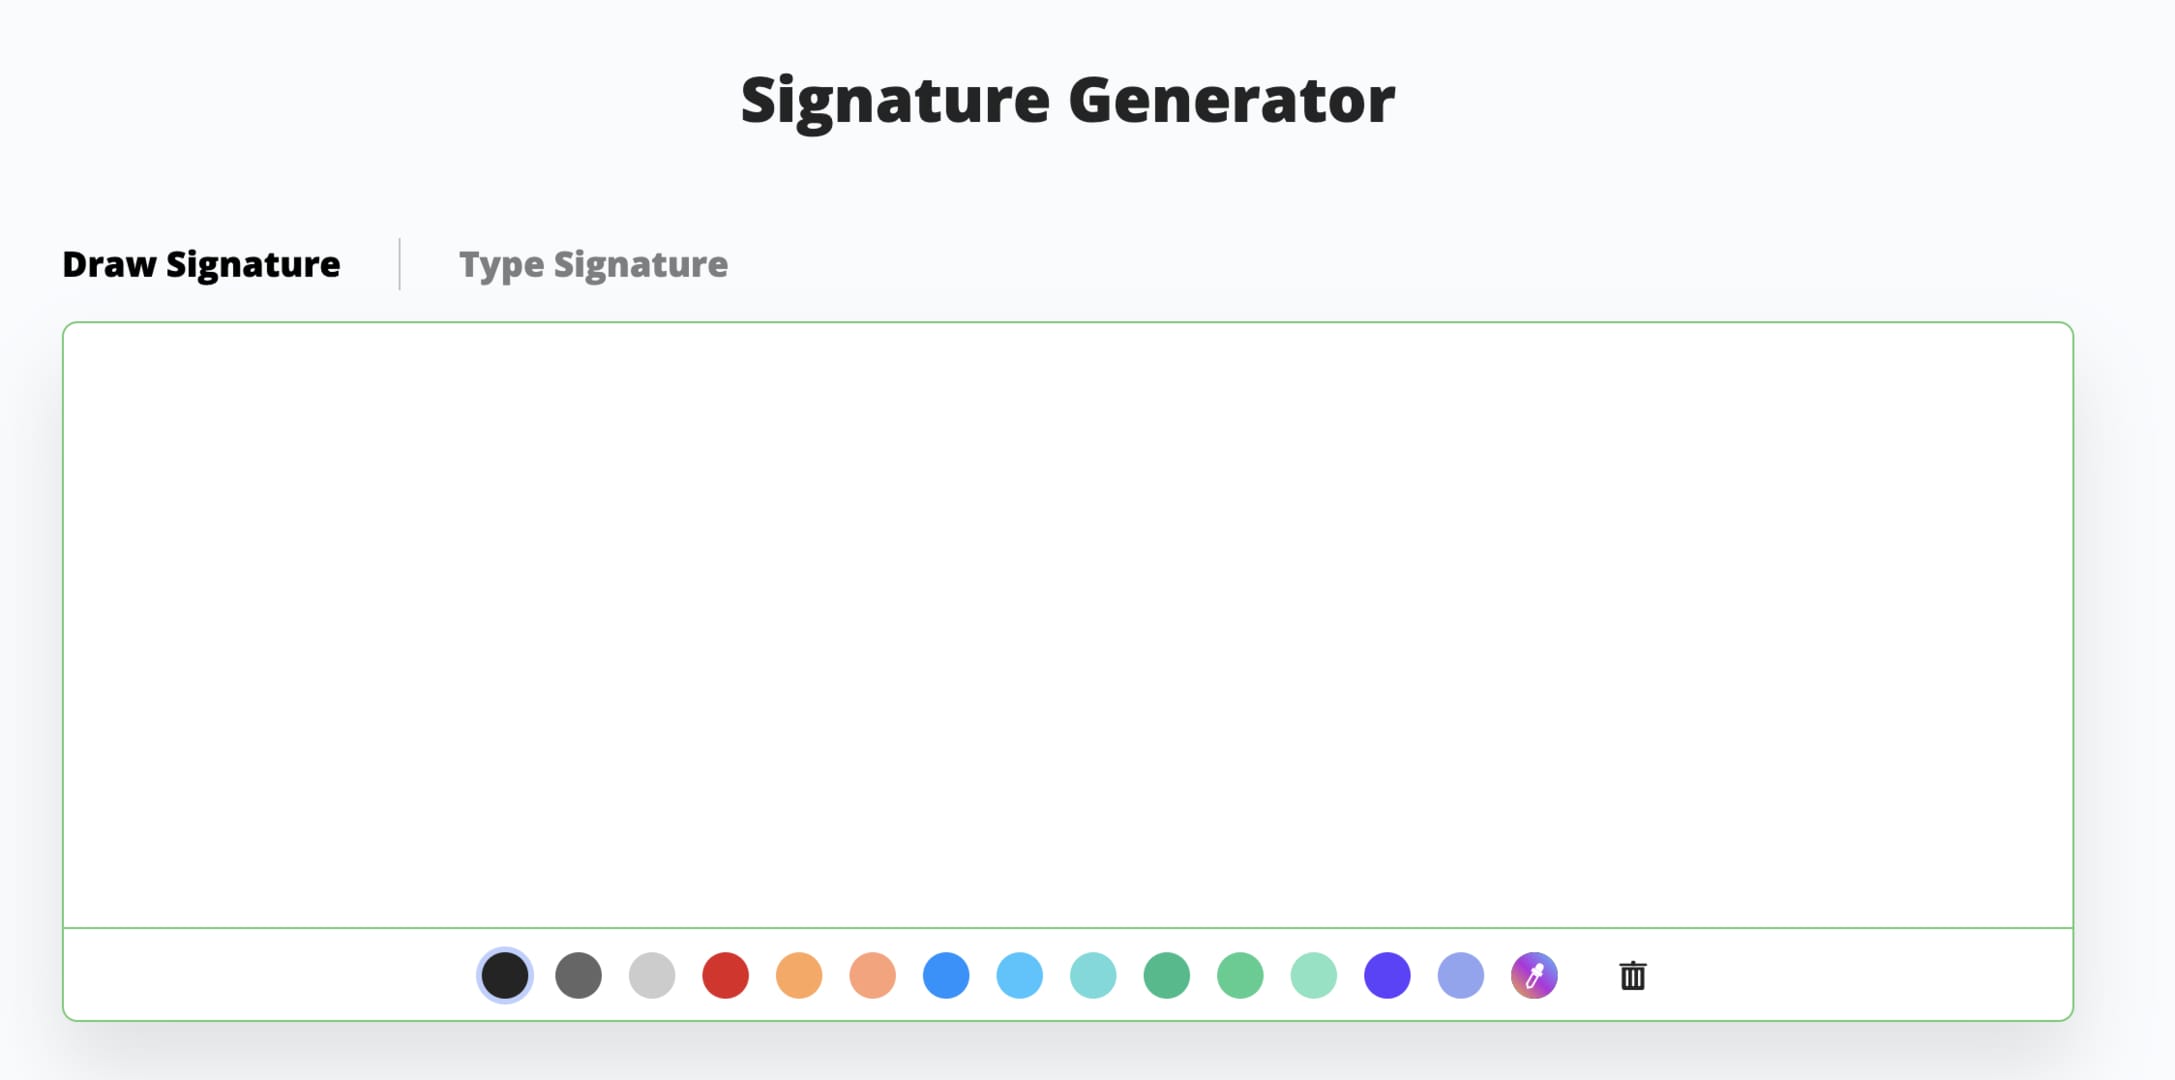
Signature Generator is a free tool that allows users to generate professional email signatures. You may use your signature on Gmail, Apple Mail, Outlook, Office 365 email, and Yahoo accounts, and it can be customized to match your brand.
It’s an internet application that enables the creation of signatures quickly and easily. The site’s professional email signature templates are being used by millions of individuals. With so many different styles of email signature templates available on the site, you’re sure to discover the right one for you.
The signature templates make it easier and faster to add your signature to your Gmail account by speeding up the creation process. So, how can you use Signature Generator to quickly generate and add a signature to your Gmail account?
Step 1:Go to Signature Generator’s official website.
Step 2: Find and select the “Email Signature Template.”
Step 3: Select your favorite option from the selection of email signature templates on the website.
Step 4: Edit the email signature’s content and personalize it to make it your own. To enter your information, simply follow the prompts. To avoid having erroneous information on your signature, make sure you finish the edit. Examine each page, paying special attention to the general information, social media, picture additions, and the company’s logo.
Use the tabs to add photos where they’re needed. In the design part, you may modify the font type, size, and color, and in the image section, you can upload a photo or company logo. Click to review the personalized signature, and then click to save it if you’re happy with it.
Step 5: Save your newly made email signature on your device. You can construct your email signature from scratch if you don’t want to use the template. Signature Generator has this capability as well.
How to Add Your Personalized Signature to Your Gmail in Minutes?
It’s time to add your personalized signature to Gmail now that you’ve generated it with Signature Generator. This is a straightforward process with only a few stages. To add a signature to your Gmail account in minutes, simply follow the steps below.
Step 1: Open Gmail and go to the “Settings” menu by clicking on the “Gear Icon” in the upper right corner of the page.
Step two: Select “See all Settings” from the drop-down menu and scroll down to the “Signature” section.
Step 3: To open a page, click the “Add Signature” menu. You’ll be able to upload the signature you produced with Signature Generator.” To add your signature to your Gmail account, click the “Save” button.
It only takes a few minutes to complete the process. After you’ve successfully added the signature to your Gmail account, it will appear with every new email message you send.
How to Create an Email Signature Using the Gmail In-Built Signature Tool?
You can also add an email signature to your account using Gmail’s built-in signature feature. It is basic and straightforward, and it only takes a few minutes to complete. The Gmail signature editor only allows for a few basic signature characteristics and does not allow for elaborate design.
This means that you must utilize the Signature Generator tool if you want a one-of-a-kind design. Follow the simple steps below to design your email signature using Gmail’s built-in tool:
Step 1: To begin, go to Gmail Settings and select the gear icon. Then select “See all Settings” from the drop-down menu.
Step 2: Go to the settings tab and select the “Signature” option. Here you will find the “Create New” button, which you should click.
Step 3: Give your email signature a name. Make sure you select a name that is easy to remember and can be linked to a specific signature. If you plan to open other Gmail accounts, you must have and remember a signature name so that you can distinguish it from others.
Step 4: Add text, links, and tables to your signature using the signature editor tool. Because the options of the Gmail email signature editor are limited, you cannot construct a rich email signature with it. To make a professional-looking Gmail signature, you’ll need a professional signature builder like Signature Generator.
Step 5: If desired, add a text hyperlink. To do so, add the text you want to be clickable content to the page and then pick the anchor text. At the bottom of the toolbar, click “Insert Link,” enter the full internet address of the link, and then click the “OK” button. The link will be added to your Gmail signature as a result of this.
Conclusion
With an email signature, your email looks nicer, more appealing, and more professional. Adding a signature to your Gmail account is simple and takes only a few minutes.
The Signature Generator site and the Gmail in-built signature maker were listed in this post as two choices for adding signatures to Gmail accounts.
As previously noted, the Gmail signature maker is restricted in functionality and can only create basic signatures. We recommend using the Signature Generator tool if you want something unique and stylish.
