How To Fix Missing hal.dll Errors
You may come across the hal.dll error in Windows XP, Windows 7, Windows 8, Windows 10, and Windows Vista for more than a single reason. Here are some of the reasons to help you understand the importance of missing file:
- Windows will not start as hal.dll in corrupt or missing, which is usually located at C:\Windows\system32\hal.dll. You need to install the copy of the file again.
- Unable to find C:\Windows\system32\hal.dll.
- C:\Windows\system32\hal.dll is not responding. You need to install the copy of hal.dll again,
The hal.dll error displays after your computer starts, but before your Windows operating system starts.

Reason for the Error
Obviously, there is an issue with your hall.dll file. DLL file is the main reason behind such hl.dll errors. For instance, the file may be deleted or corrupted. Another cause of this issue may be a damaged hard, Windows drive. However, an issue with the master boot code is usually the reason for a missing hall.dll error in Windows 7, Windows 8, Windows 10, and Windows Vista.
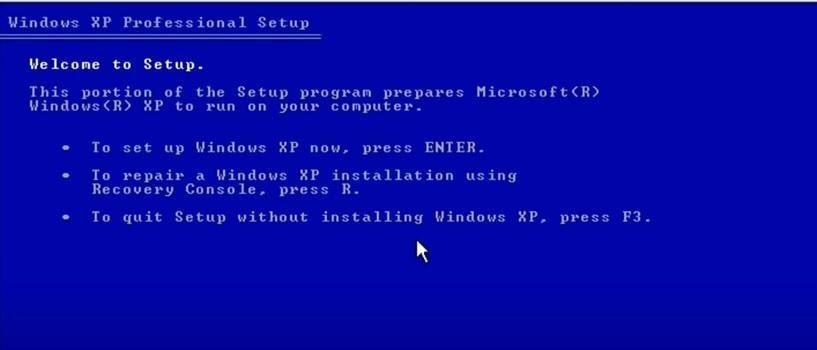
Fixing the Hal.dll Error for Windows XP
- The first thing that you should do is restart your computer. That’s because hal.dll sometimes stops working. As the hal.dll error displays before your Windows starts, you cannot restart your computer. You will need to force restart it.
- Now, check the proper boot order in the BIOS. You might find the hal.dll error if the order of the boot in BIOS is first on the hard drive instead of your main drive. This error will appear because the second hard drive doesn’t include any hal.dll files.
- If you have just changed your boot order or have flashed the BIOS recently, this may be the reason you see this error.
- From the command prompt, run the system restore for Windows XP. If this did not work or your computer is still displaying the hal.dll error while completing the process, you should move to the next step as this will not solve the issue.
- Replace or repair the boot.ini file. If the cause is a Windows XP boot.ini file and not the hal.dll file, this process will work, which is often the case.
If the boot.ini repairing process works and solves the hal.dll issue, but the problem reoccurs when you reboot your computer, you need to uninstall Internet Explorer 8. You might have recently installed it. In such a situation, Internet Explorer 8 is sometimes the issue and causing hal.dll error.
- Write a new boot sector partition to the system partition of your Windows XP. If the partition boot sector has corrupted or is not properly configured, your computer might be displaying hal.dll error due to this problem.
- Recover the data from the bad sectors of your hard drive. If the physical area of your hard drive is damaged, which is responsible for storing any part of hal.dll, you might see this error due to this damage.
- You can also restore the hal.dll file from the Windows XP installation CD. If the hal.dll file is responsible for the error, then restoring the file from the original CD will work.
Fixing the Hal.dll Error for Windows 7, 8, 10, and Vista
Step 1 – Loading The Recovery Console
First, you need to recover the “recovery console” by following below steps:
- First, insert a Windows installer disc
- Restart your damaged computer
- Press Del/F2 to ensure that the Windows is ready to boot from that disc. This part is very important.
- Now you need to exit the editor and boot from the CD you just inserted
- When the Windows installer is loaded, press “R.” This will load the “Recovery Console”
- Now follow the instructions on the screen. These instructions will lead you to a black screen.
- Once you are done with loading the Recovery Console successfully, you may proceed to the next step:
Step 2 – Restoring Hal.dll File
Once you have entered the recovery console, you should try to recover the hall.dll file, which is missing. You can recover it by performing the following:
- First type
“cd system32”
This will give you access to the system32 folder.

- Now you need to type
“map”
- By this, you will know which CD rom drive you are suing.
- Now type
“expand d:\i386\hal.dl_”
- By pressing “Enter” the file will be copied to the system32 folder

- If it is asking to overwrite because the file is already available in the folder, then say “yes”
- Now finally reboot by typing
“Exit”
After entering into the Recovery Console, just try to recover the hal.dll file from the computer with the following method:
- First type
Now again you need to access the system32 folder by typing
“cd system32”
- Type map so you will know what CD rom you have.

- Now once again type
“expand d:\i386\hal.dl_”
- Now to copy the file in the system32 folder press
“Enter”
- If your system ask to overwrite the hall.dll file, then say “yes”
- In the end type
“Exit” to reboot
By performing the above steps properly, a new and fresh copy of hl.dll will be added in your computer. This will make Windows work again. If it still doesn’t work, it is a sign that your boot.ini file is corrupted. To determine if this is the case, follow the steps mentioned in Step 3:
Step 3 – Repairing Boot.ini
When your hl.dll is not corrupted, there is a chance that your boot.ini is the reason behind this issue. You need to follow the below steps in order to correct the issue:
- At first boot into Recovery Console
- After you enter the recovery console, you should type
“attrib –h –r –s c:\boot.ini”
- Now press enter
- If you entered the parameter wrong, an error will appear saying, “Parameter is wrong”. Simply ignore that error and carry on with the process.

- Now type
“del c:\boot.ini” and press Enter
- After that type
bootcfg /rebuild

- press “y” in order to “Add Installation to boot list”
- Now for Boot identifier type
“Windows”

- For Boot Loading Options type
“/fastdetect”
- After that type
“fixboot” and enter

- Now press enter again after typing “y”
- Now to restart type
“Exit”
This will repair the boot options for the computer, and hall.dll error will be fixed on your computer. By the way, here are a few solutions on HAL dll error you can try.
Conclusion
With a clean installation, you can fix any hall.dll error caused by any software-based corruption. But you should only try this method if you know that your hard drive is working properly and after you have tried all the other methods and software. Besides, the method also applies to other startup errors.