How To Zoom In On Photoshop
Zooming in on Photoshop can be a tricky task for many designers, but it doesn’t have to be. Whether you’re an amateur or a pro at photo editing software, knowing the basics of how to zoom in and out is essential. In this article, we’ll explain all the different ways that you can use Photoshop to get closer to your image without sacrificing quality. We’ll also give tips on what settings you should use depending on the kind of project you’re working on — so let’s dive right in!
For those looking for more control over their images than the basic “zoom in/out” feature offers, there are plenty of options available within Photoshop itself.
You can easily adjust magnification levels using keyboard shortcuts or by navigating through menus, as well as make precise measurements with rulers and guides. And if you want even greater control over your zooming experience, there are several plugins you can install that will take your workflow up a notch.
Finally, no matter which method you choose to zoom into an image with Photoshop, it’s important to remember one key thing: never sacrifice accuracy for speed when making adjustments! Taking a few extra seconds to double-check your work could mean avoiding costly mistakes down the road — so always keep precision top priority. With these guidelines in mind, let’s jump into our guide on how to zoom in on Photoshop!
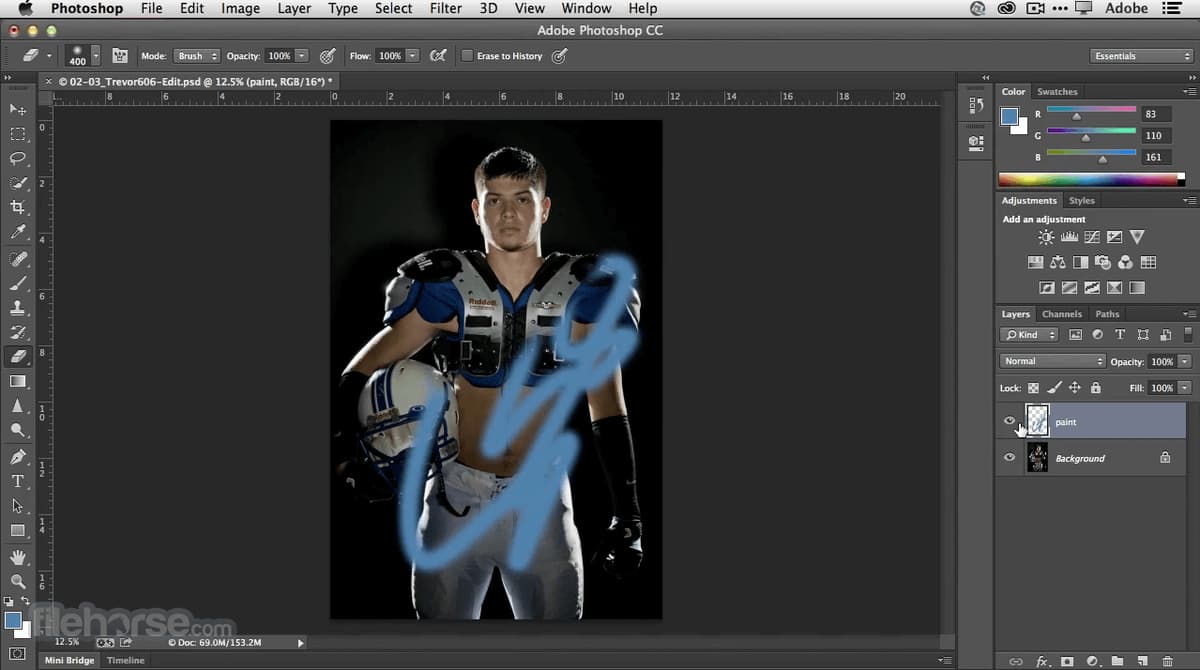
Overview Of Photoshop Interface
Photoshop is one of the most powerful photo editing tools out there, and it’s easy to get overwhelmed by its complexity. But once you understand how its interface works, using Photoshop becomes much easier. It starts with a look at the various tools and features available within the app.
The main window provides access to all the different options for adjusting your images or creating new ones from scratch. On the left side are the toolbar and menus, which provide quick access to some of Photoshop’s more basic functions such as cropping and resizing an image. In the center is where you’ll find the canvas, which displays any changes made in real-time.
Finally, on the right side are panels that provide detailed information about what adjustments have been applied and allow users to fine-tune them even further if desired. With a little practice, anyone can learn how to use these features in order to create stunning visuals with ease.
Using The Magnifying Glass Tool
Photoshop’s magnifying glass tool is a great way to zoom in on an image. The tool, located at the top of the interface, can be used to increase or decrease how much detail you see in your work. Click and drag it up or down to adjust the resolution.
The magnifying glass also provides several other view options that are useful for getting a better understanding of what’s going on inside Photoshop. You can choose from nine different views including Fit Screen, Actual Pixels and Print Size.
These can help you get a more accurate representation of your project before you start editing. Additionally, if you want to take things even further, there are also custom size options as well as a “zoom to fit” option which will automatically adjust the magnification level based on the size of your document window.
By leveraging these tools, you have greater control over how far into the details of an image you need to go while working in Photoshop—allowing you to make precise adjustments without losing sight of the bigger picture.
Working With The Zoom Tool
Photoshop’s zoom tool is a great way to get up close and personal with your images. To begin, access the Zoom Tool in Photoshop by selecting it from the Tools panel or pressing Z on your keyboard.
With the Zoom Tool selected, you can now navigate around an image by clicking and dragging inside of its canvas. This will create a zoom window that allows you to see your image at different magnifications levels. You can also hold down Alt while using the Zoom Tool to quickly zoom out.
The level of magnification when using the Zoom Tool changes depending on how far away or close you are hovering over the canvas with your mouse cursor.
When working zoomed-in, you’ll be able to edit fine details much more easily than if you were viewing at 100%. Knowing how to work effectively with the Zoom Tool in Photoshop is essential for getting closer looks at what you’re editing without compromising any image quality.
Adjusting Resolution And View Options
Now that you know how to zoom in on Photoshop using the Zoom Tool, it’s time to look at some other ways to adjust image resolution and view options. Here are a few tips for getting your project looking its best.
First off, make sure you’re taking advantage of all the available view options. You can use them to change what is visible on your screen depending on the size or type of image you’re working with.
For example, if you need more space for larger images then try switching into full-screen mode – this will expand your canvas so that you can see everything without having to scroll around.
It’s also possible to adjust settings like zoom level and even customize grid lines and guides to help keep everything aligned as you work. To do this, go into View> Show > Grid & Guides and tweak the different parameters until they suit your needs. The same goes for any other adjustments — test out the various settings and find which ones work best for your project!
Final Words
Zooming in on Photoshop is a great way to make images look better. It’s not difficult once you know the basics of how the software works and what tools are available. With the Magnifying Glass Tool and Zoom Tool, it’s easy to adjust resolution and view options for any image.
Using Photoshop can be intimidating at first, but with practice, it quickly becomes second nature. And as soon as I got comfortable manipulating my images with the zoom tool, I found that there was so much more potential than I ever expected from an image-editing program. Now I’m able to create stunning visuals that wouldn’t have been possible before!
Photoshop has become such an integral part of my workflow—it helps me tweak photos or drawings that would otherwise take hours by hand. Even if you’re just starting out, learning how to zoom in on Photoshop will pay off dividends down the line.