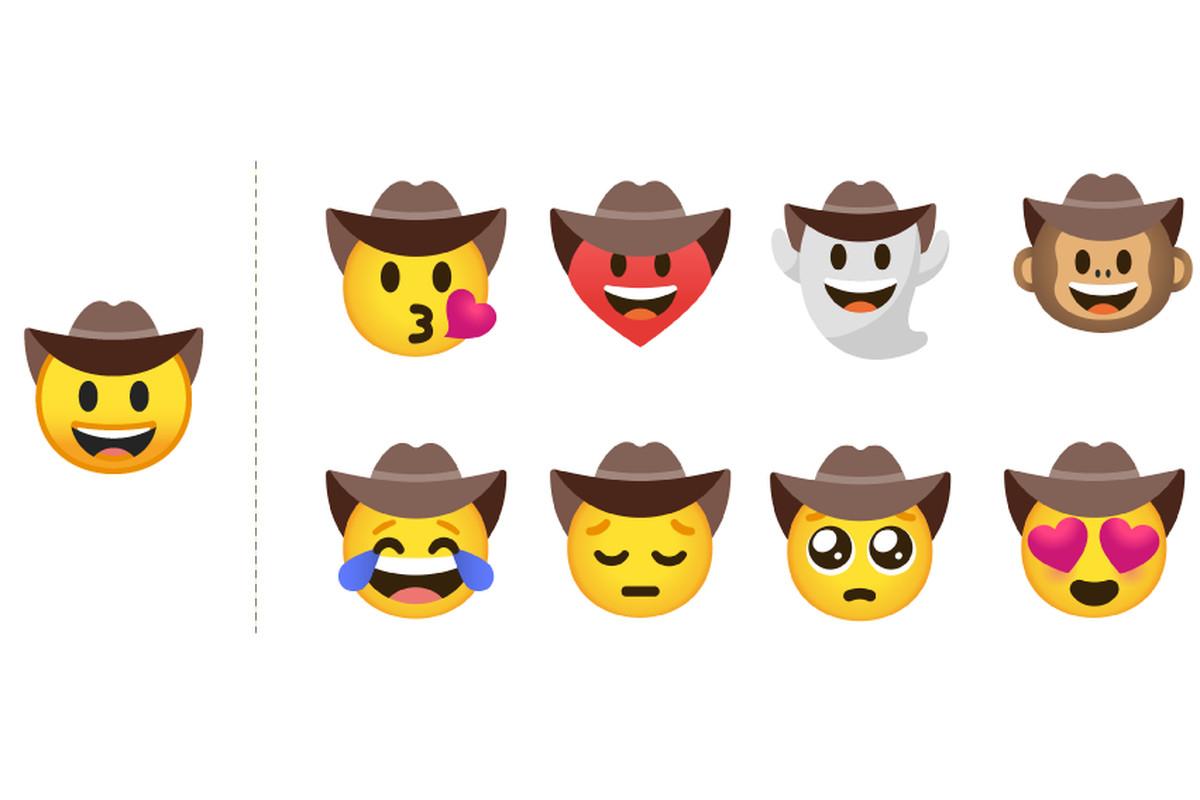
How To Use GBoard App To Scan Your Face And Create Your Personal Facebook Stickers

Expressing oneself during chats or in comment sections on various social media platforms has over the years improved and become less difficult.
In the past, it was purely text and photos. There was nothing like Emojis. So one had to try so much to put out the right text to convey a message and the exact emotions they had at the time of putting out the text. This however changed when the emoji era came.
People shared their emotions with various emojis here and there. It was easier to understand how people felt with emojis. It also made conversations more beautiful and colourful.
And then came to the master move called stickers. Stickers became the biggest chat elements on social media when they were introduced. Barely could anyone read comments on social media without stickers? It has become a widespread element of the global chat culture. People of all races and genders use stickers now to express humour and other emotions on social media.
However, Google’s Gboard keyboard has the icing for the global ‘Sticker cake’. With Gboard, anyone can create mini avatar stickers of themselves using their real face. It is very simple and can be customized as well.
In this article, I shall teach you how to create your own Gboard avatar sticker from your smartphone – both android and IOS.
But before we get into the steps involved, you first need to install the Google Gboard on your smartphone. For android users, you can get your Gboard for free here. If you are an IOS users, the Gboard keyboard is also available for free. Get it here.
You can learn more about how to add, edit or customize android keyboards here.

How To Create Your Personal Mini Avatar Sticker On Android
- Open any application which requires the use of Keyboard. So, it can be your normal text app or Whatsapp, Facebook messenger or any other app in that category. Select the emoji icon beside the Space bar on your Gboard Keyboard.
- Click on ‘Stickers’ and click on the Green Plus (+) sign on the right.
- Select ‘Create’
- Next, the face scanner will pop up on the screen. When asked to permit the scanner to access your camera, kindly grant the permission and fit your face into the space provided on your screen, using your front camera. Click on the camera icon to snap your face.
- The keyboard will automatically come up with a list of stickers based on the photo you took. To edit them, you can select any of them and start customizing. Otherwise, just press ‘Done’ on your screen to add them to your list of stickers.
- You can either start using your stickers by selecting the ‘my minis’ button on your stickers menu or you can customize each of them.
How To Create Your Personal Mini Avatar Sticker On Your Iphone
- Open the Gboard app on your iPhone.
- Select the stickers link and click on ‘create’ from the ‘Browse’ tab.
- Next, the face scanner will pop up on the screen. When asked to permit the scanner to access your camera, kindly grant the permission and fit your face into the space provided on your screen, using your front camera. Click on the camera icon to snap your face.
- The keyboard will automatically come up with a list of stickers based on the photo you took. To edit them, you can select any of them and start customizing. Otherwise, just press ‘Done’ on your screen to add them to your list of stickers.
- You can either start using your stickers by selecting the ‘my minis’ button on your stickers menu or you can customize each of them.
How To Customize Your Mini Stickers
After successfully creating your Mini stickers with your Gboard keyboard, the next thing you want to do is to be able to customize it to fit your preference. Here, in this section of this article, I will take you through how to customize your mini stickers.
- Click on stickers in your Emoji list on your Gboard Keyboard.
- Click on My Minis
- There are a list of categories displayed. Click on ‘Customize’ beneath the category you wish to edit.
- You can then change the appearance of your mini sticker by changing the face shape, hair, hair colour, eye shape, eyebrow shape and size, nose shape, facial hair and colour, Facial marks, Glass frames and style, Shirt colour, Piercings and earring positions.
Note: This app does not provide a perfect shape for your head, ears or nose so your sticker may not look exactly as you do. It is still worth the effort though since it still produces a near-perfect result.
Conclusion
Social media is interesting because people are able to share their opinions and views freely and it provides various perspectives on issues. This is more so because of the use of emojis and stickers to convey various emotions and expressions.
What if you can further customize those stickers and emojis to look just like you? Yes, it’s possible with Google’s Gboard keyboard. And in this article, we took you through how to create your own sticker with this application as well as how to customize it further.
I hope you found this article very interesting and helpful. If you have any questions, comments or reservations regarding this post, kindly leave them in the box below this post or contact us.
We write because you read. And we appreciate your presence on this blog daily. Kindly share this article with people within your network.
